Sending out emails is a fairly simple process and does not require a huge setup.
Tools like instantly, smartlead etc. have made it extremely easy to set up hundreds of inboxes and launch multiple campaigns.
Keep in mind that tools like MailChimp, HubSpot etc. are not included in this list as they are not supportive of cold emails and would hurt your domain reputation. They are built for launching marketing campaigns on Opt-in lists and as such shouldn’t be used on fresh audiences.
Here’s how we should go about setting up our inboxes on Instantly and launching campaigns.
p.s. This setup will help you understand almost all cold email tools since they all have a similar product flow.
Go to instantly.io and sign up with an account.
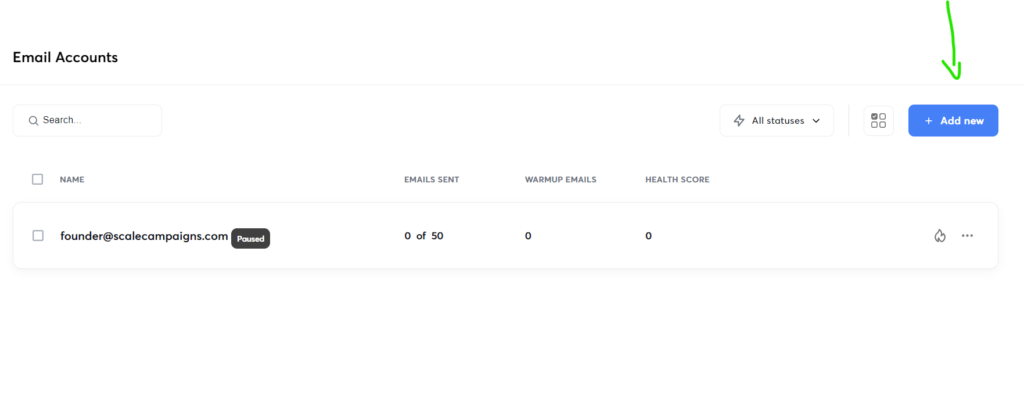
In the email accounts section click on add new.
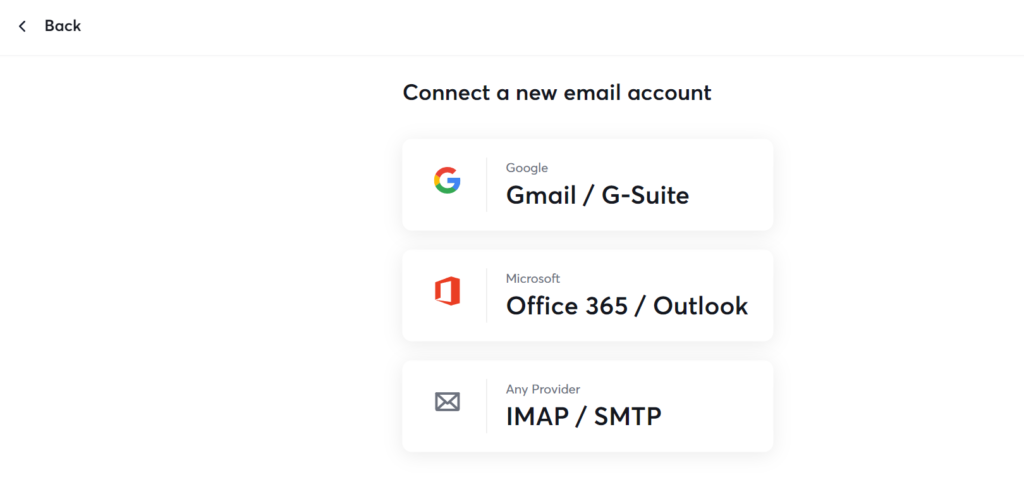
Select the account you wish to connect with your instantly account.
Gmail
To connect Gmail, go to your account and enable IMAP here.
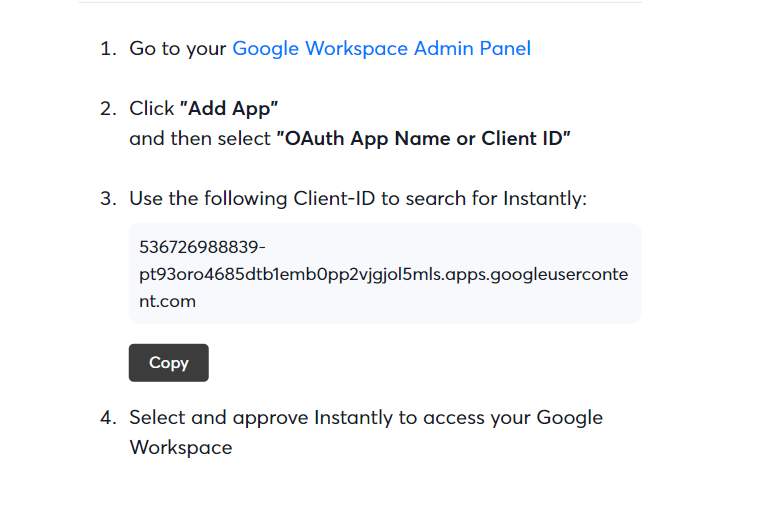
Once done, Go to google workspace admin portal.
Click on Add App and select Client ID.
Paste the client ID mentioned in the instantly pop up window and approve.
This directly connects your Gmail account with Instantly.
Outlook
For Outlook accounts you will have to enable SMTP using the steps mentioned in the window.
Open admin center in microsoft 365 account.
Open active users.
In the mail tab, select manage email apps.
Select Authenticated SMTP and IMAP.
Save Changes and wait for one hour.
Once activated, login to your outlook account in the pop up window to connect your instantly account with its inbox.
Grant permission to Instantly to access your outlook account.
And Boom your Outlook is connected 🙂
IMAP/SMTP
To connect using IMAP/SMTP follow this process.
Add your email address and basic details.
Add Imap details.
Similarly fill in the details for the SMTP checkbox.
Click Submit and the account is connected 🪃
Simple right?
All connected accounts will display here.
Now let’s go to the campaign section and launch a sample campaign.
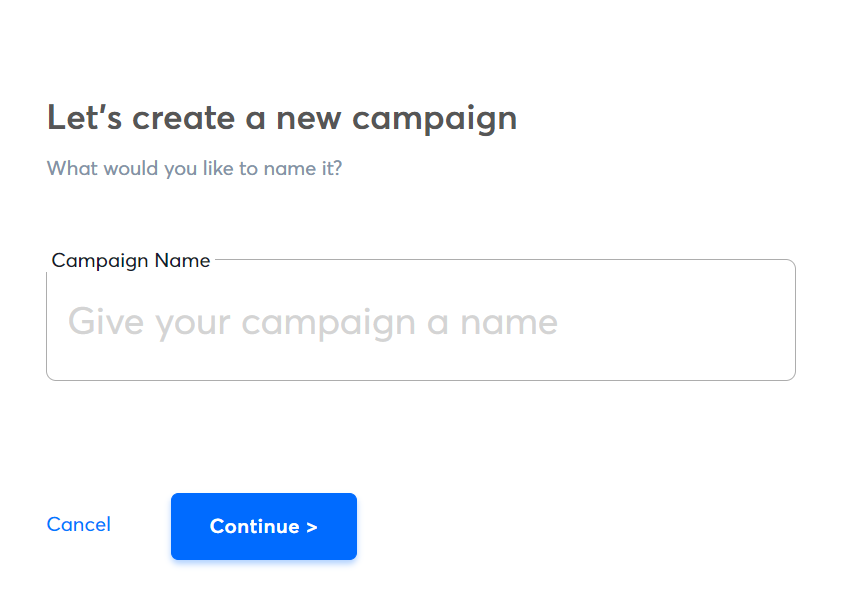
Select add new campaign and name it.
Select add leads and connect your lead list to the dashboard.
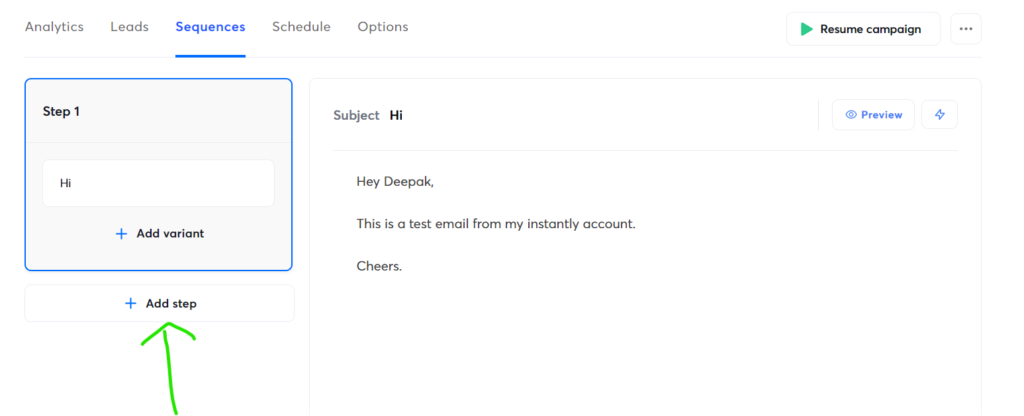
Upload your sequence. Use Add step to add follow ups to the sequence.
Schedule the email and save the sequence.
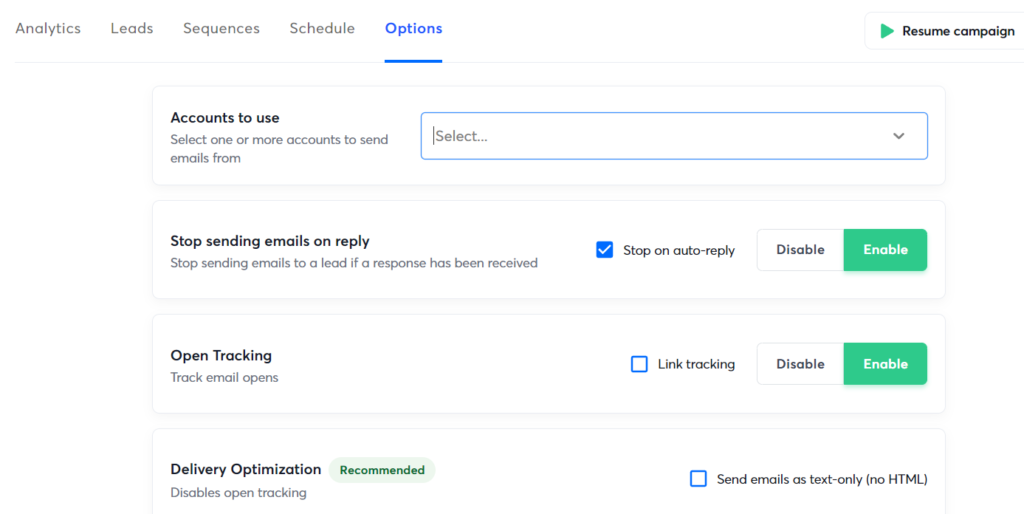
In the Options section, select the email accounts you want to use for the campaign.
Once done select Run Campaign.
Smartlead setup
Here’s how we should go about setting up our inboxes on smartlead.ai and launching campaigns.
p.s. This setup will help you understand almost all cold email tools since they all have a similar product flow.
Go to smartlead.ai and sign up with an account.
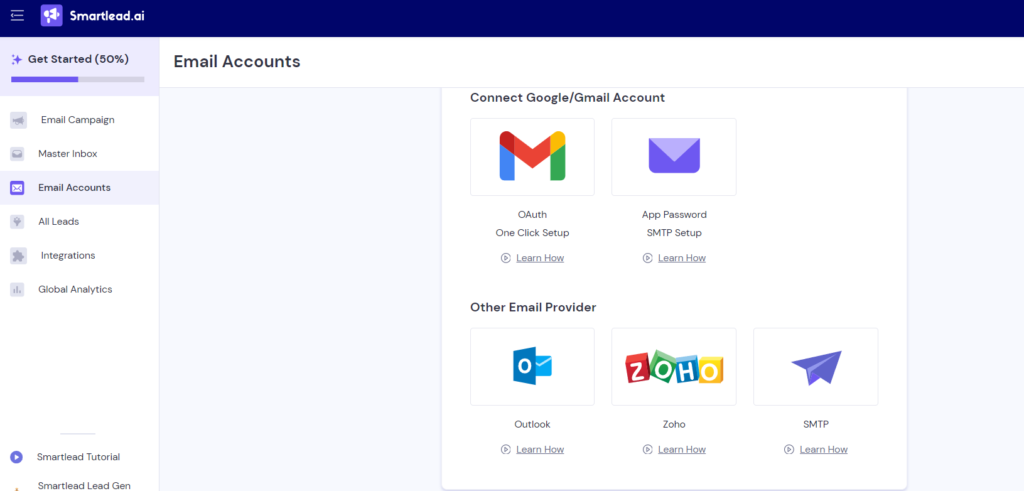
In the email accounts section click on add new.
Select the account you wish to connect with your smartlead account.
Let’s see how we can set up individual accounts here.
Gmail
To connect your Gmail click on Gmail OAuth set up.
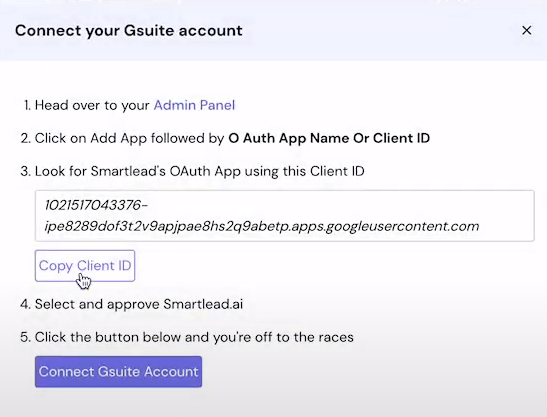
Once you do that you will be shown this window.
Login to your Google Workspace admin account.
Click on Add App and then select OAuth App option.
Once you select this option you will have to copy the Client ID in the pop up window on smartlead and paste it to the admin panel Oauth ID section and click search.
Once you do it it will show the Smartlead option you will have to select this option.
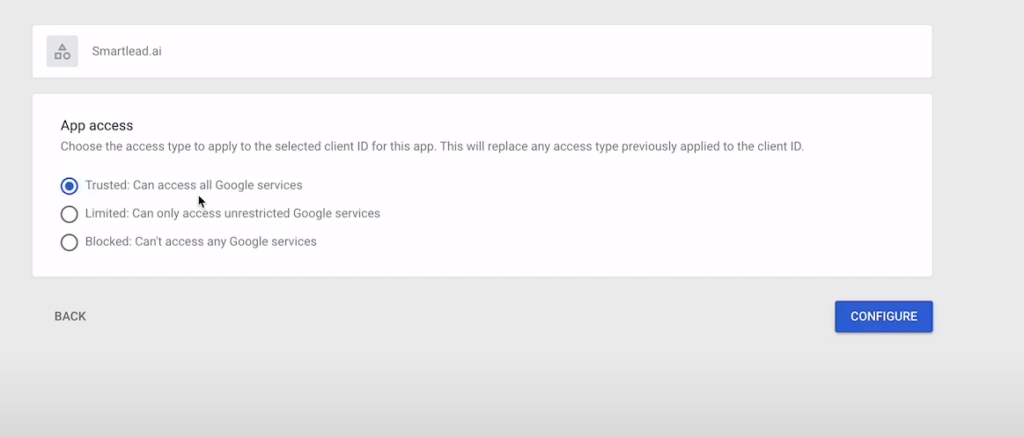
Select the Client ID and configure it as a Trusted App which can access all Google services.
Once done you can directly connect any G Suite inboxes directly to your smartlead account without doing this process all over again.
Hope this helps:)
Outlook
To connect outlook you just have to login to your account.
Grant permission to Instantly to access your outlook account.
And Boom your Outlook is connected 🙂
IMAP/SMTP
To connect using IMAP/SMTP follow this process.
Add your email address and basic details.
Add Imap details and verify account.
If verified it will show Success.
Click Submit and the account is connected 🪃
Simple right?
All connected accounts will display here.
Now let’s go to the campaign section and launch a sample campaign.
Select add new campaign and name it.
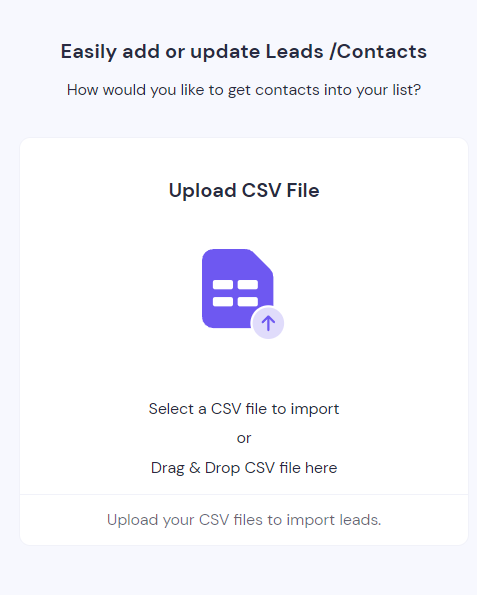
Select add leads and connect your lead list to the dashboard.
Map details to the CSV and click submit.
Upload your sequence. Use Add step to add follow ups to the sequence.
Schedule the email and save the sequence.
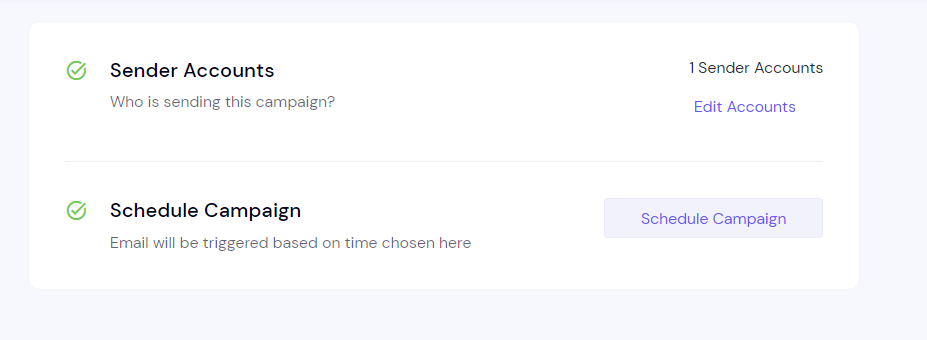
Now you would need to select accounts that will send these emails and also set up the time at which these emails will be launched.
Once done select Run Campaign.
This will launch the campaign which will start sending emails to the prospect list uploaded 🙂