Table of Content
- Different Table views
- Add new row
- Import
- Export
- Share
- Dedupe
- Version History
- Filter
- Sort
- Index Columns
- Index Rows.
Table Operations in Clay
What are different table views?
One can easily change the view of their clay table to display rows based on conditions such as,
- errored rows (to display rows which have errors in enrichments)
- non enriched columns (hides all columns that have new enrichments)
- a duplicate view.
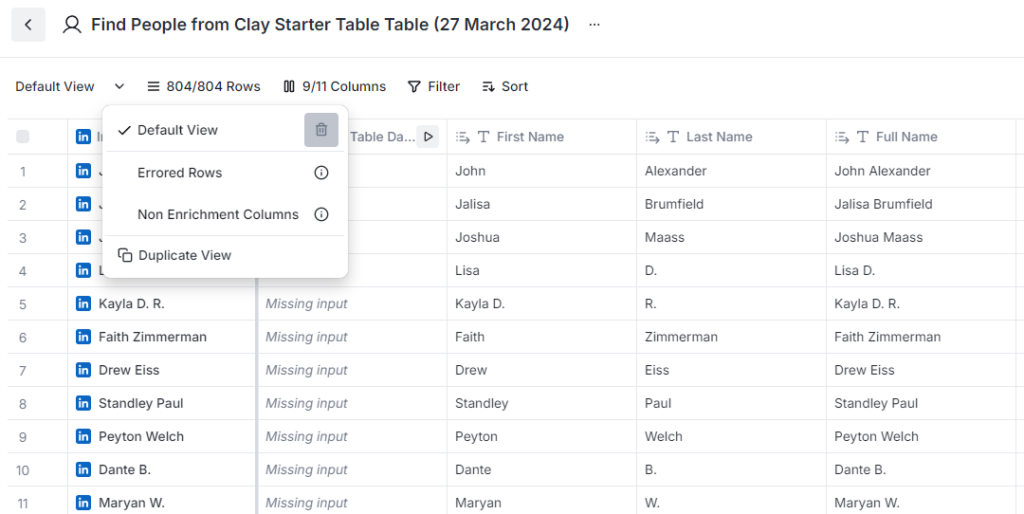
To do this, you just have to click on the Default view option on top left and select any option you want from the dropdown.
What operations are allowed in a table?
This is what a normal Clay table looks like.
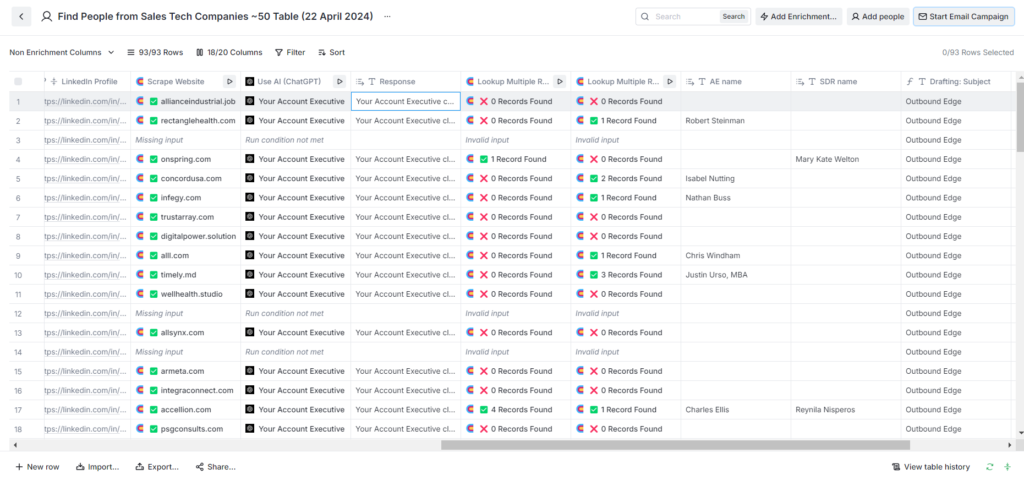
You can notice that there are several options available to manipulate the table just like microsoft excel.
You can add new rows, import or export data, view version history, filter rows etc.
Let’s see how to do each in detail,
- Add new row
For this we will use the New row option on the bottom left of the table window.
2. Import
To do this select the Import option on the bottom left of the table window.
From the pop up window, select the platform from which you want to import the data.
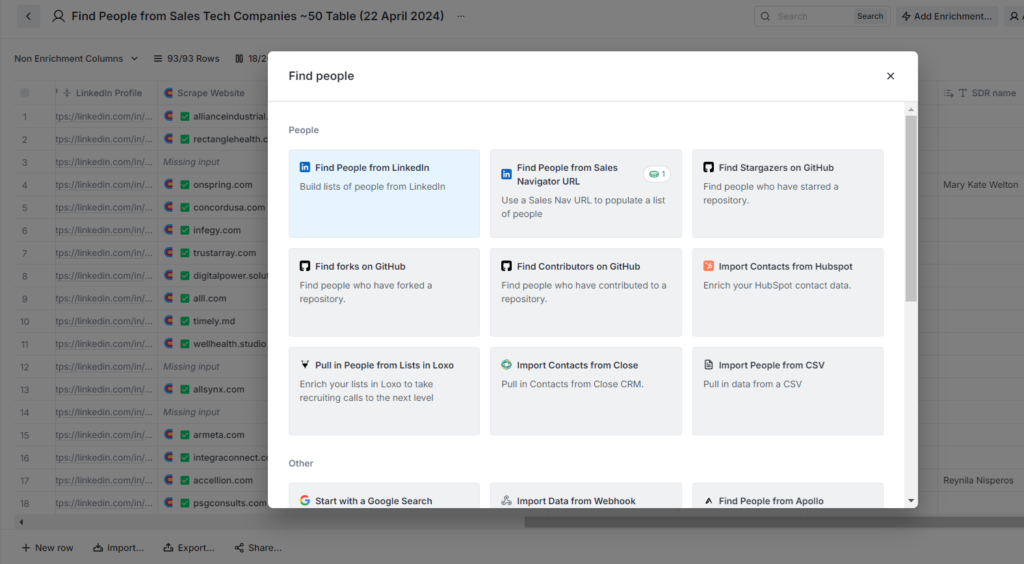
This will add the dataset to the table.
3. Export
To export a table, select the export option on the bottom left.
Select how you want to export your list.
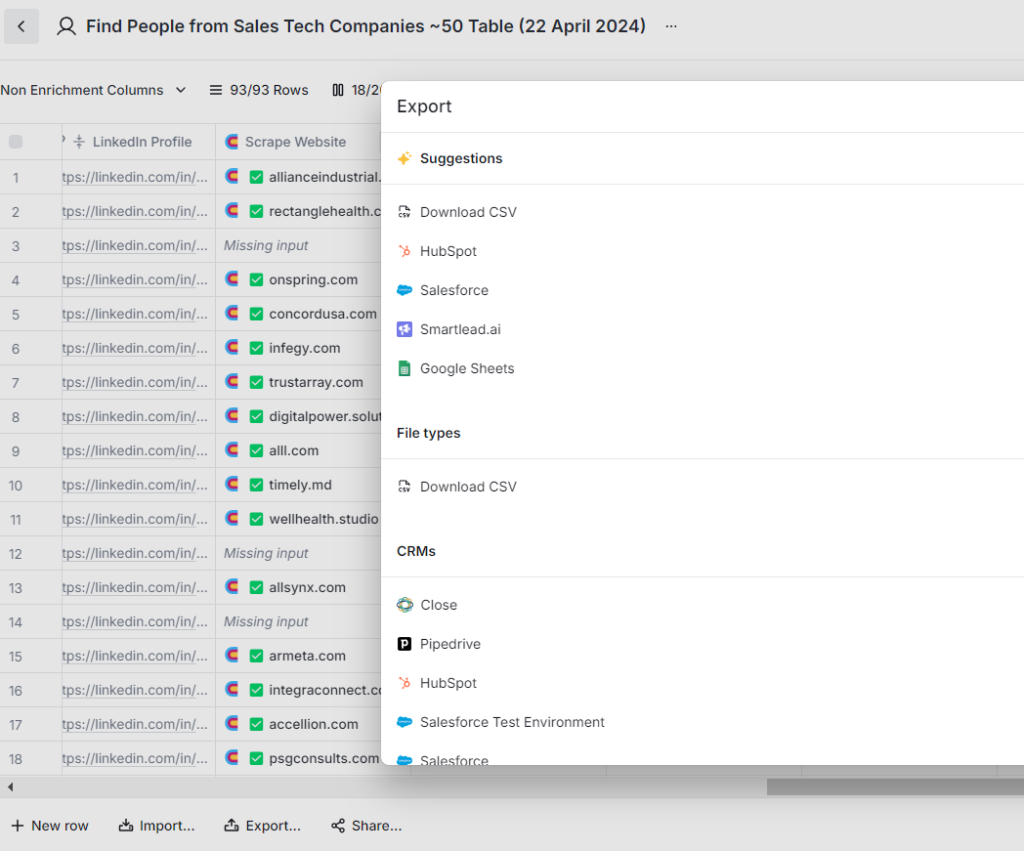
You can export the data directly into a csv or into a CRM such as Hubspot, Pipedrive, Salesforce etc.
4. Share the table
Clay lets you share your table with others using the share function on the bottom left of the table window.
However, it limits the viewer to view only one row per table to protect data. So its better to export the table into a CSV and then share it across so that they can view the full table 🙂
5. Dedupe the table
Clay lets you dedupe the table data automatically using the function on the bottom right.
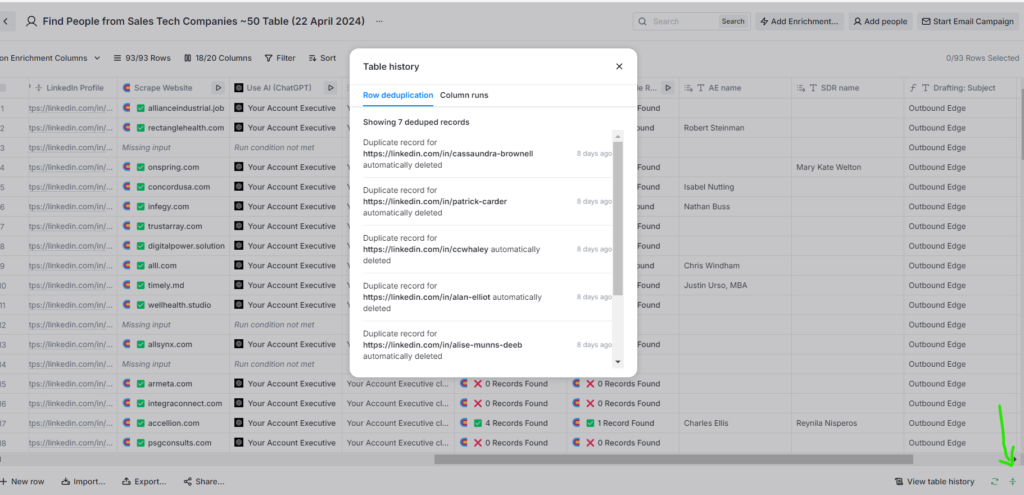
This highlights all the duplicate rows and automatically deletes it.
6. Version History
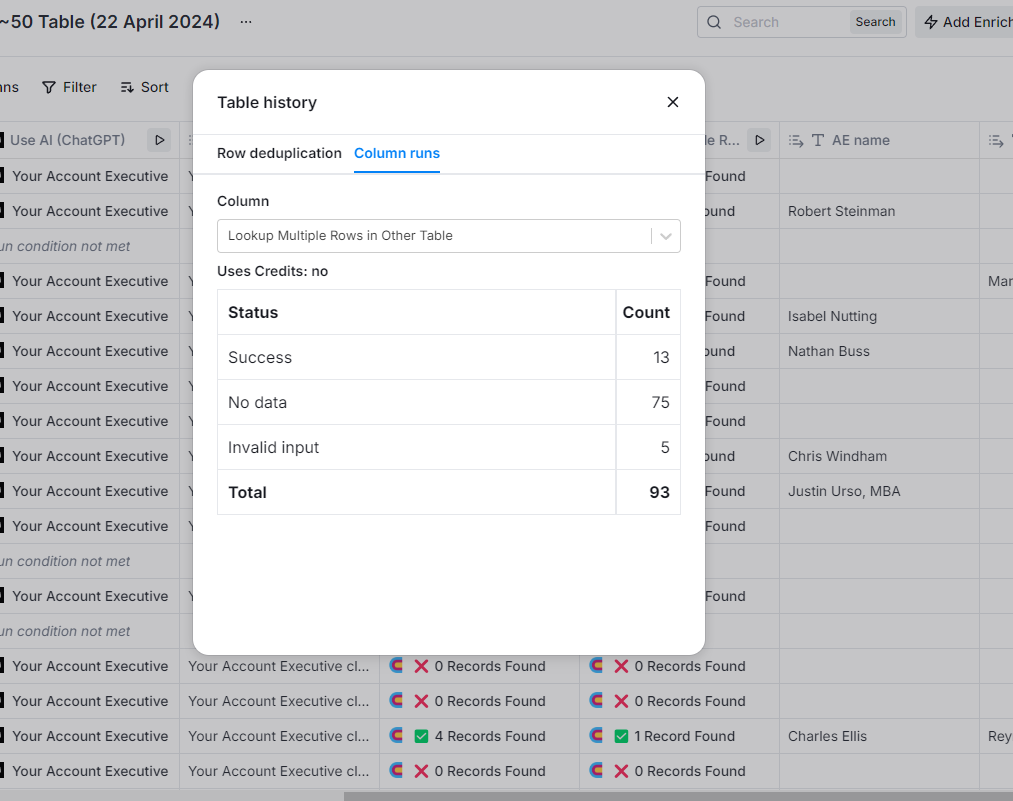
To view your table history, select the Version History option on bottom right.
It will show you all the functions that have run till now on the table and distinguish valid and invalid data inputs.
7. Filter
To filter a table all you have to do is to select the filter option on the top.
Add in the column that you want to filter and select the values.
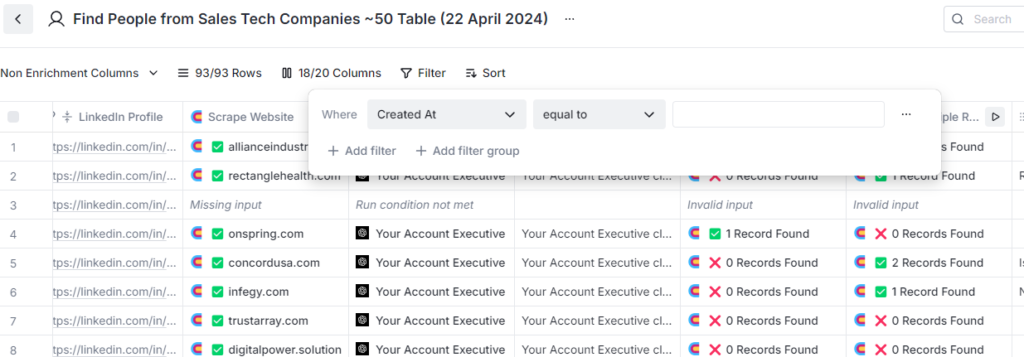
You can add multiple columns to filter for multiple values 🙂
8. Sort
Sort option on Top of the table will help you sort any table based on the column you select.
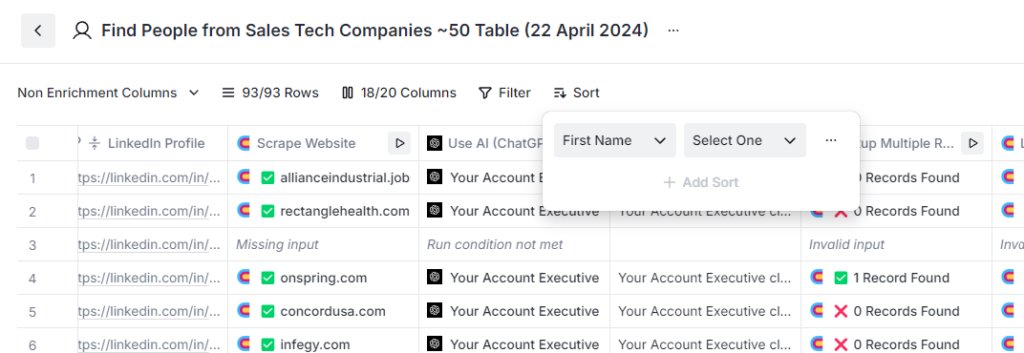
You can select multiple columns to sort based on a pattern.
9. Index or Hide Rows
The Rows option will help you limit your table rows to display limited rows.

You can also select a range such as row 30 to row 50 using this option to view selected rows.
10. Index or Hide Columns
The Columns options will help you change how you view your table columns.
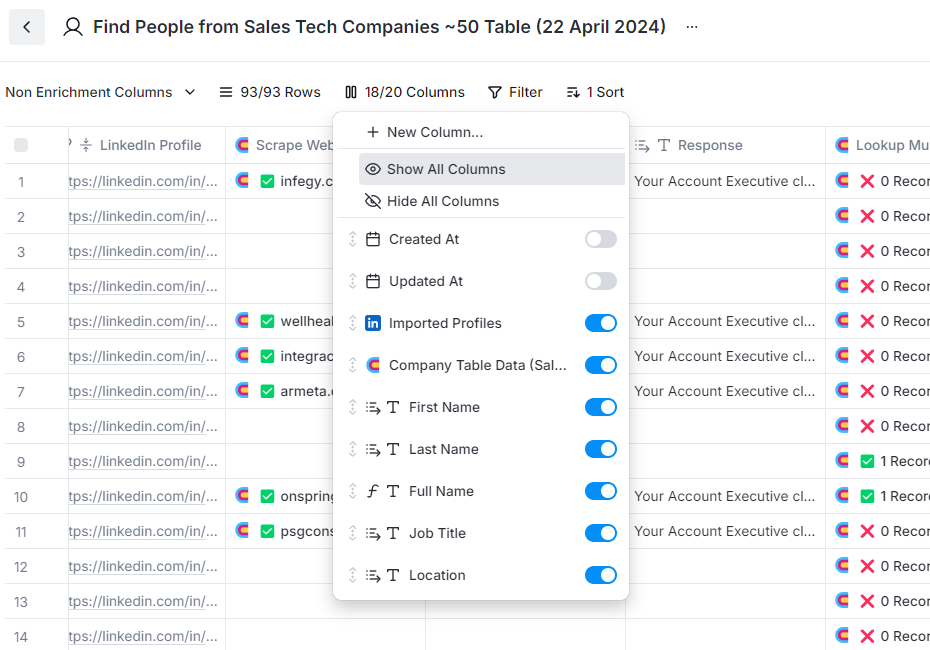
You can hide certain columns or add new columns using this function 🙂
